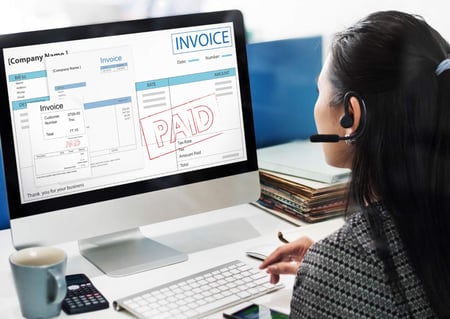
 Invoice management is a major part of business. Getting your invoices paid on time is essential to ensuring you don’t end up with liabilities that lead to problems with your vendors. However, as your company grows, getting all your invoices handled on time can take more time. The Accounts Payable (AP) automation capabilities within Dynamics 365 help you speed up invoice processes.
Organizations can use Dynamics 365 invoice automation to help with manual tasks like:
- Applying prepayments to vendor invoices
- Correctly matching product receipts to vendor invoice lines awaiting payment
- Mocking up an invoice simulation before it gets posted
- Viewing and analyzing your Dynamics 365 AP automation vendor invoice processing results
Your Dynamics 365 invoice automation workflows show you the progression of vendor invoices as they move from one process to another. That helps your accounting team track and process invoices more efficiently. In addition, the Dynamics 365 AP automation helps cut down on errors that often occur when a human manually enters and processes invoices.
Getting Started with Dynamics 365 Invoice Automation
Organizations typically partner with a third party to scan paper invoices using optical character recognition (OCR) technology. It collects information and turns it into machine-readable metadata along with a scan of the original invoice.
The Dynamics 365 invoice automation solution for AP processes comes with an interface that accepts metadata from invoices. In addition, Dynamics 365 reviews information contained within invoice attachments.
Before you can set up accounts payable, you must make sure to complete setup for the following sections within the General ledger if you wish to use the functions they contain:
- Payment journals
- Currency exchange rates within the Currencies page
- Add bank accounts to Cash and bank management
Setting up accounts payable
- Outline the payments terms and assign them to sales orders, invoices, purchase orders, customers, and vendors. Make sure you also define due dates for invoices.
- Go to Methods of payments -> vendors page and add information on how your organization wishes to pay vendors.
- Go to the Vendors group page to create vendor groups that share posting, payment, reporting, and forecasting parameters.
- Navigate to the Vendor posting profiles page and define how to post vendor transactions to the general ledger.
- Navigate to the accounts payable parameters page to set up default settings like number sequences for Accounts payable.
- Go to the Form setup page and define how you wish to format documents for vendors.
- Finally, go to the Vendors page and set up your vendor accounts along with tax organizations to which your company reports sales tax information.
Setting up vendor invoice automation
Once you’ve configured your AP settings, you can start creating Dynamic 365 AP automation workflows for imported invoices. Navigate to Accounts payable -> Setup -> Accounts payable workflow.
- Select Vendor invoice workflow.
- Add an automated posting element to the workflow to ensure touchless automation. For example, you can go with post invoice or post invoice using a batch element.
- Go to the Accounts Payable parameters page to set up the parameters for the workflow.
- Automatically apply prepayment for imported invoices — Select Yes to direct the system to look up existing prepayments for a related purchase order.
- Block follow-up automation process in case of prepayment application failure — Select Yes to block invoices to which the system can’t apply a prepayment.
- Navigate to the Vendor invoice automation tab within the Accounts payable parameters page to add parameters for submitting imported workflows.
- Automatically submit imported invoices to workflow — Select Yes to have imported invoices automatically go through the workflow system. No means users must manually submit invoices.
- Match product receipts to invoice lines before automatically submitting — Select Yes to prevent automatic submission of invoices until the system finds a product receipt match.
- Require the calculated totals to equal the imported totals for automatic workflow submission — Select Yes to prevent the automated submission of invoices until the invoice calculations match the imported totals.
- Automatically match product receipts to invoice lines — Select Yes to use background processing to automatically match your posted product receipts to invoice lines defined by a three-way matching policy.
- Number of times to attempt automatic matching — Choose the number of times the system should try to match product receipts to an invoice line before declaring the process a failure.
View automation results
If you wish to view the status of invoices within an automated submit to workflow process, go to the Pending invoices page. There, you can see the Automated receipt match status and the Automated submit to workflow status values. From there, you can view details and look for ways to correct issues around failed automation steps.
Optimize Your Dynamics 365 Invoice Setup
Internet eBusiness Solutions can guide your organization through the steps necessary to implement your Dynamics 365 invoice automation solution, including marketing automation dynamics 365. Reach out to one of our representatives today to set up a consultation.


